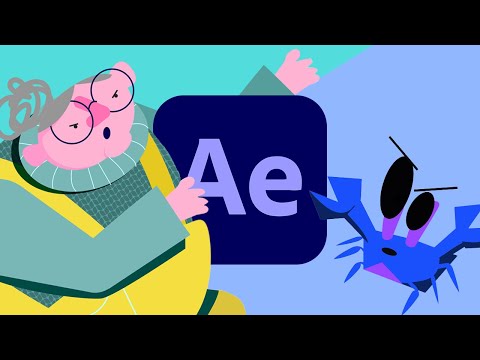
How to Rig and Animate Characters in After Effects
Character rigging in After Effects lets you build skeletons for 2D characters and control their movement with precision. The process involves creating bones, establishing parent-child relationships, and setting up controllers for smooth animation. After Effects includes the Puppet Pin Tool and Bone Tool, which make rigging faster and more intuitive than ever. Once rigged, your characters animate smoothly with realistic motion.
Understanding the Bone Tool and Setup
The Bone Tool is your foundation for character rigging. Start by importing your character artwork as a single layer or pre-composing body parts. The Bone Tool creates joints that control deformation across your artwork. Click and drag to place bones along joints like shoulders, elbows, wrists, hips, and knees.
Each bone you add becomes a control point. Parent bones influence child bones, creating a natural hierarchy. A shoulder bone affects the arm, which affects the forearm, which affects the hand. This hierarchy is critical for realistic movement. Position bones at the center of joints for optimal rotation and deformation.
Before rigging, organize your layers logically. Keep arms, legs, torso, and head separate when possible. This separation gives you flexibility during animation. If your character is one flat image, the Bone Tool still works, but you'll have less control over individual limb deformation.
Parenting and Controller Creation
After placing bones, establish parent-child relationships. Select a bone and assign its parent in the timeline. This creates a chain of command. Moving the parent bone automatically moves all child bones beneath it. A shoulder bone becomes the parent of the elbow, the elbow parents the wrist, and so on.
Create null objects as controllers above your rigged layer. Link these nulls to specific bones using expressions or direct parenting. Controllers give you clean, easy-to-grab handles in the composition. Instead of selecting the bone directly, you click the controller null and move it. This approach keeps your timeline organized and speeds up the animation process.
Use position and rotation keyframes on your controllers. Avoid keyframing bones directly. Controllers separate your animation layer from the technical rigging layer. This practice is standard in professional motion graphics workflows. It makes revisions faster and keeps your project scalable.
Animation Techniques for Rigged Characters
Keyframe animation drives rigged character movement. Set a keyframe at the beginning of your timeline, move the playhead forward, adjust your controller positions, and set another keyframe. The software interpolates the movement between frames, creating smooth motion.
Apply easing to your keyframes for natural movement. Linear keyframes create robotic motion. Use ease-in and ease-out functions to add weight and momentum to your character. Select a keyframe and right-click to access keyframe velocity options. Adjust the incoming and outgoing values to control acceleration and deceleration.
Animate in layers. Start with primary movement (the torso and hips), then add secondary movement (arms and head). Stagger your keyframes so body parts don't move in perfect unison. Real movement has overlapping action and timing. A walking character's shoulders move slightly before the hips catch up. The head follows the torso after a short delay.
Test your animation frequently. Play back your composition often. If you spot stiff or unnatural movement, adjust keyframe timing or add ease curves. Small tweaks create huge improvements in character appeal. If you're building custom rigs for professional projects or need specialized animation support, consider connecting with experienced motion graphics professionals through Local Services on It's Buzzing to streamline your workflow.
Workflow Optimization and Best Practices
Save your rigged character as a template. Once your rig is solid, you can reuse it across multiple scenes or projects. Create a master composition with your rigged character pre-configured. Duplicate this composition for each animation task. This saves hours of setup time on larger projects.
Use the Graph Editor to refine animation curves. The Graph Editor shows the velocity of your movement over time. Smooth curves create smooth motion. Sharp angles create jerky transitions. Fine-tune your curves for professional-looking animation.
Render tests frequently. Export short clips at low resolution to check your work without waiting for full-quality renders. This iterative approach catches mistakes early and saves rendering time. Once your animation is final, render at full quality with your chosen codec and settings.
Conclusion
Character rigging and animation in After Effects combines technical setup with creative movement. Master the Bone Tool, establish clean parenting hierarchies, and animate with thoughtful keyframe placement. Your characters will move with life and appeal. Practice these techniques on simple characters first, then progress to more complex designs. With consistent practice, you'll build animation skills that translate across the entire motion graphics industry.